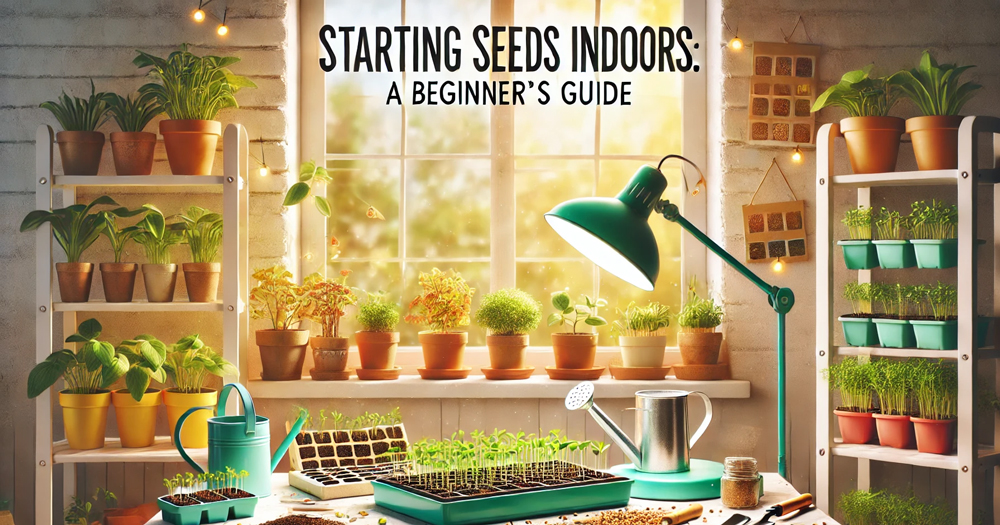
If you’re a beginner gardener dreaming of fresh veggies and herbs, starting seeds indoors is an exciting way to get a head start on your garden. It’s easier than you think, and this guide will walk you through the process step-by-step. Let’s dig in!
Why Start Seeds Indoors?
Starting seeds indoors has tons of perks! Here are a few reasons you’ll love it:
- Jumpstart Your Harvest: Get a head start on the growing season for an earlier and more abundant harvest.
- Save Money: Seeds cost far less than starter plants.
- Control How They’re Grown: Raise your plants organically without chemicals.
- Endless Variety: Choose from a massive selection of seeds, especially online.
- Healthier Plants: When you grow your seedlings, you’ll know they’re nurtured for success.
- Short Growing Seasons? No Problem!: Northern gardeners can extend their growing window, while warmer regions can squeeze in an extra crop.
Which Plants Should You Start Indoors?
Some plants thrive when started indoors, while others do best when sown directly into the garden. Here’s a quick guide:
Best for Starting Indoors:
- Broccoli
- Brussels Sprouts
- Cabbage
- Tomatoes
- Cauliflower
- Eggplant
- Peppers
Best for Direct Sowing:
- Cucumbers
- Melons
- Pumpkins
- Squash
- Carrots
- Turnips
- Beets
- Radishes
- Peas
What You’ll Need to Start Seeds Indoors
Gather these supplies to set yourself up for success:
- Seed Starting Mix: Regular potting soil is too dense—use a light, fluffy seed starting mix.
- Containers: Reuse yogurt cups, egg cartons, or purchase seed trays. Make sure they have drainage holes!
- Spray Bottle: Misting prevents seeds from dislodging while keeping the soil moist.
- Seed Heating Mat: Ensures seeds stay at the perfect temperature (65–75°F).
- Grow Light: Provide 12–16 hours of light daily, especially on cloudy days or in winter.
Step-by-Step Guide to Starting Seeds
- Check the Timing: Start seeds 6 weeks before your area’s last frost date. Your seed packets will have this info.
- Prepare Your Containers: Fill with seed starting mix and moisten it.
- Plant Your Seeds: Follow the depth instructions on the packet. For tiny seeds, sprinkle them on the surface; for larger ones, plant ¼ inch deep.
- Keep Them Warm and Moist: Use a seed heating mat and mist regularly.
- Provide Light: Position seedlings near a sunny window or under a grow light for 12–16 hours daily.
- Thin Your Seedlings: Once seedlings sprout their first true leaves, trim weaker ones, leaving the healthiest in each container.
Hardening Off: Preparing for the Great Outdoors
Before planting your seedlings in the garden, help them adjust to the outdoor environment:
- Start Slowly: 1–2 weeks before the last frost, place seedlings outside in a sheltered, wind-free spot for 2 hours. Gradually increase time and sunlight exposure over the next several days.
- Protect Them: Use boxes or buckets to shield from wind, pests, and direct ground contact.
- Overnight Stay: After a week, leave them out overnight if no frost is expected.
Pro Tips for Beginners
- Seed Storage: Store unused seeds in a cool, dry, dark place for future seasons.
- Buddy Up: Split seed packets with friends to save money and try new varieties.
- Stay Organized: Label your containers so you know what’s growing.
Final Thoughts
Starting seeds indoors is a rewarding way to grow healthy plants while saving money and exploring unique varieties. If you’re ready to give it a try, follow this guide and watch your garden flourish!
Need more help? Connect with other gardeners on our Facebook page to share photos, ask questions, and celebrate your wins.
Here’s to your gardening adventure and an abundant harvest!


