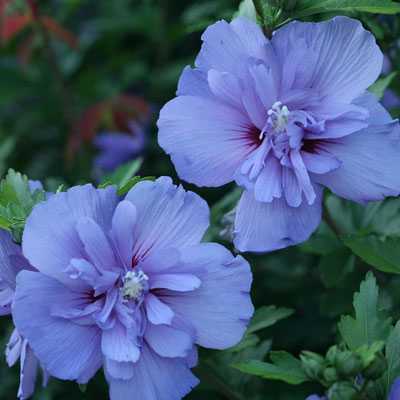
Okra is a hardy, heat-loving plant that thrives in warm climates and is easy to grow in home gardens. Originating from Africa, Okra is a member of the mallow family, sharing traits with plants like hibiscus, roselle, and even cotton. Regardless if you’re a gardening newbie or a seasoned pro, this guide will show you how to grow Okra successfully, from seed to harvest.
5 Reasons to Grow Okra in Your Home Garden!
- Hardiness: Okra is a resilient plant that tolerates heat, dry weather, and even the occasional frost.
- Versatility: It grows well in garden beds, containers, and even in poor soil with a bit of proper preparation.
- Productivity: Okra produces continuously during the warm months, yielding multiple harvests from just a few plants. Regular harvesting ensures continuous Okra pod production.
- Nutritional Benefits: Okra is rich in fiber, vitamins A and C, and antioxidants, making it a healthy addition to your meals. (Chickens & cows will benefit too!)
- Culinary Uses: This versatile vegetable is perfect for dishes like gumbo, stir-fries, and pickled okra, for preserving, or simply breaded and fried for a delicious snack or side dish.
Backyard Gardeners Prefer These Varieties!
Most gardeners have their preferences and some varieties may grow better in certain areas of the country than others. We suggest you talk to gardeners in your area for their take on Okra varieties or use one (or more) of our following recommendations.
- Cowhorn: Is an heirloom variety popular in Louisiana and Mississippi, known for its large, forgiving pods that stay tender longer. (Some Okra varieties are pickier about when they are harvested for that sweet spot of just-right-tenderness.)
- Clemson Spineless: This variety was developed by Clemson University in 1939. This is the most popular variety in the U.S., producing smooth (spineless), tender pods.
- Jambalaya: Is a hybrid variety that produces pods earlier, thrives in the warmest climates, and is highly productive. Jambalaya requires more frequent harvesting for the most tender pods.
- Red Burgundy & Jing Orange: Are visually striking varieties with smooth red or orange pods, adding a unique touch of color to your garden and culinary pursuits. Neither of these is ideal for canning but are perfect for stir-fries, stews, soups, and frying. These Okra pods are often used as striking fillers for fall flower arrangements. (Who knew?)
- Green Fingers: This dwarf variety exhibits high production for container gardening or for growing in small garden spaces.
How to Create the Perfect Growing Conditions for Okra
- USDA Zones: Okra performs best in USDA Zones 5-11, depending on the length of the growing season in conjunction with the first and last average frost dates for your zone.
- Sunlight: All Okra varieties require full sun, ideally 12-16 hours of daylight for maximum yield.
- Soil: Okra plants prefer slightly acidic soil with a pH of 5.5 to 6.0. Adding clay (everything in moderation) or native soil improves growth when compared to pure compost. Soil pH testers are relatively inexpensive and definitely worth the cost.
- Temperature: Germination begins when soil temperatures exceed 60°F. Okra thrives in temperatures of 65-75°F or higher. Yes, Okra likes it hot!
- Watering: Okra tolerates dry conditions but produces better with consistent moisture. Applying mulch will help to retain soil moisture, deter weed growth, and will reduce watering requirements. Be careful not to mound mulch right against the plant stems; leave a couple of inches here.
There are 3 Methods for Planting Okra!
Do what works best for you:
Starting Seeds Indoors
- Start seeds 2-3 weeks before the last frost date for your region, typically in March or April.
- Use large biodegradable pots to minimize the requirement for transplanting, while avoiding root disturbance.
- Place seeds ½-inch deep in soil and water well; water with a gentle stream so as not to displace the seeds.
- Maintain temperatures above 60°F for germination. Heat mats can help in cooler climates though they are commonly used by experienced gardeners to maintain a constant germination-friendly temperature.
Direct Sowing Outdoors
- Wait until at least 2 weeks after the last average frost date for your area, when soil has warmed to at least 60° F. Soil thermometers are an inexpensive, valuable tool for your gardening arsenal.
- Sow seeds directly into the ground or containers, spacing seeds 10-inches apart with 2 to 3 feet between rows. You may sow them closer together, but then thin the seedlings for spacing, keeping the most robust plants.
- Cover seeds with ½- inch of soil and water gently, but thoroughly.
Using Transplants
- Transplants are an excellent option if you want to jump-start the growing season or have a short growing window, either due to local climatic or vacation plans.
- Purchase healthy transplants or start seeds indoors in biodegradable pots (these pots can be planted directly into the garden so the roots are not stressed during the transplanting process).
- Harden off transplants by gradually exposing them to outdoor conditions for 7-10 days before planting.
- Space transplants 10 to 12 inches apart in well-prepared soil, with 2 to 3 feet between rows. Ensure they receive full sun (12 to 16 hours daily is ideal). Avoid planting where taller crops, like tomatoes or corn will shade them.
How to Care for Your Okra Plants
Watering
- Keep the soil consistently moist but not It is best to avoid overhead watering, water at the soil level and water deeply. Check the soil with your finger for moisture about 1-inch deep. If dry or barely damp, deep water again.
- In particularly hot, dry climates, you may need to water daily if temperatures exceed 100°F on consecutive days.
- Apply mulch to conserve soil moisture, reduce watering frequency, and to deter weed growth.
Fertilizing
- Add organic matter like cow, chicken, or horse manure to the soil before planting.
- Use a balanced fertilizer like Miracle-Gro if you do not prefer, or have access to, animal-based fertilizers.
Pruning
- Remove lower leaves and crowded interior foliage to improve air circulation; this will reduce the number of pests, the occurrence of fungal or bacterial diseases, and will maximize sunlight exposure for better pod production.
Companion Planting
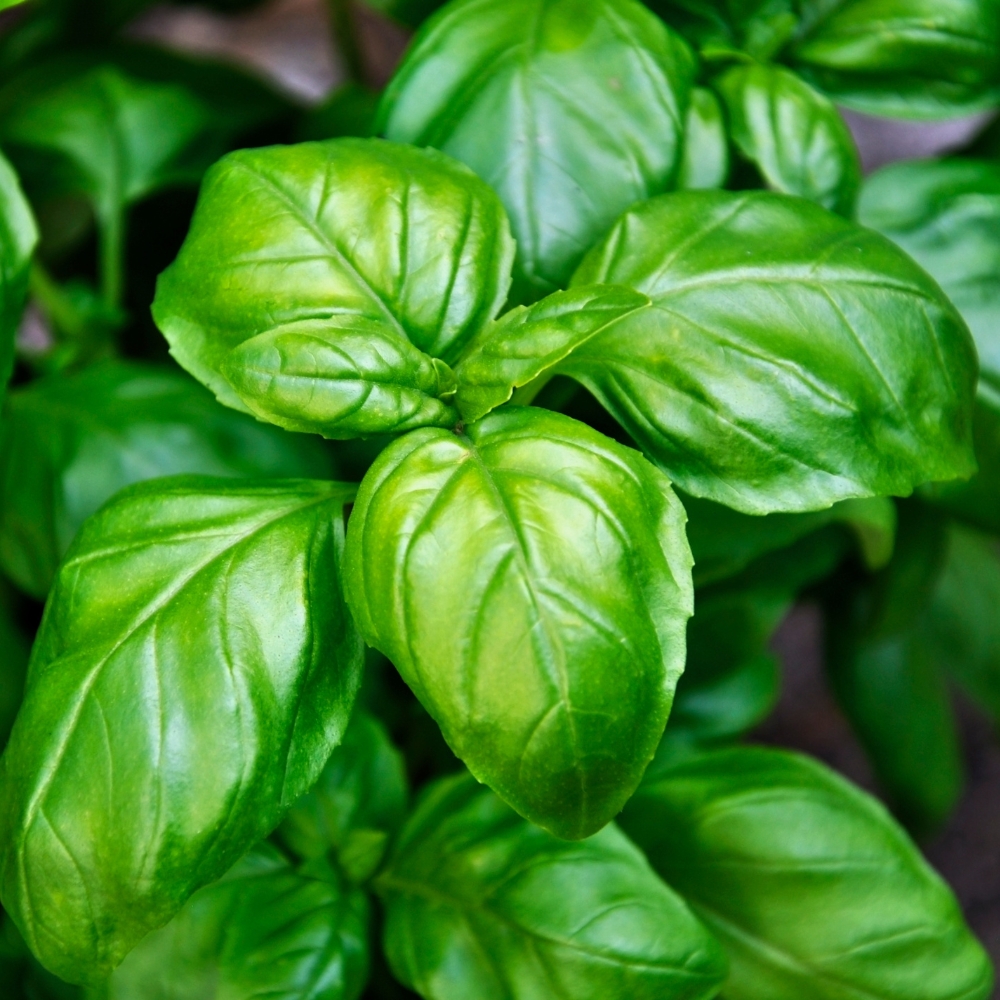
- Pair Okra with basil, marigolds, or nasturtiums to deter pests the natural way.
- Avoid planting near solanaceous (in the night-shade family) crops like tomatoes, peppers, potatoes, and eggplant; these crops will attract the same type of pests that will enjoy feasting on your Okra plants.
How Do You Manage Pests and Diseases?
It is always a good idea to take a walk through your garden daily, even if it is too early to harvest. This will enable you to identify pests and address their destruction in a timely manner.
- Aphids: Spray neem oil, horticultural oil, or a soap solution under the leaves. Aphids can also be removed with a strong stream of water, though the above solutions may effectively prevent their occurrence.
- Stink Bugs: These little buggers are shield-shaped and will emit a most unpleasant odor when disturbed. Leave bumps on the pods, rather than disposing of the entire pod, and utilize a stronger insecticide like Bug Buster 2. Identifying this pest quickly will lessen the impact on your quality and quantity when it comes to harvesting.
- Root-Knot Nematodes: These are microscopic pests that attack the roots, causing stunted plants that seem to be chronically thirsty, even when they are well-watered. You may see yellowing leaves as well. The best cure is proactive prevention. Rotate crops every other season, planting those that are not susceptible to these pests, such as corn, grains, broccoli, cauliflower, mustard and dwarf French marigolds. Healthy soil is more likely to suppress the occurrence of Root-Knot Nematodes. Adding microbially active amendments may solve the problem completely.
When and How Should You Harvest Okra?
- Harvest Okra pods when they’re 2½ to 4 inches long to avoid tough, woody-textured pods.
- Check your Okra plants daily as pods mature quickly. It is recommended to harvest in the early morning to avoid heat stress on the plants…and yourself.
- Pro Tip: Wear gloves to avoid irritation from the tiny spines on some varieties.
How to Grade Your Harvested Okra:
If you are growing Okra for sale in a farmer’s market or local grocery store, you may want to market your Okra pods by grade, enabling you to fetch a higher price for the best quality.
- Extra Fancy: Small, tender pods with the highest market value.
- Fancy: Slightly larger pods, still tender and flavorful.
- Choice: Larger pods, less tender, though still edible.
- Feed Grade: Large pods that are too tough for human consumption. Both cattle and chickens can benefit from eating the entire Okra plant, including the pods. It benefits their digestive tract, while the same vitamins and minerals that are healthy for humans, are also healthy for cows and chickens. Chickens will even work through the toughest pods! (Okra pods do contain a trace amount of solanine, a toxic compound; each of your chickens would have to eat an exceptional amount—I’m talking pounds here—of Okra to be affected by this toxin.)
Tips for Growing Okra in Containers
- Use large root pouches or pots. Rule of thumb is to grow 1 to 2 plants per person.
- Keep your soil consistently moist and harvest pods when they’re small to avoid toughness.
- Ensure your containers have adequate drainage to prevent root rot.
How to Extend the Okra Growing Season
Taking advantage of Okra’s long growing season can ensure you have plenty for early season eating and late season preserving to last through the winter.
- Start seedlings indoors early, then plant successively (putting out new seedlings every 2 to 3 weeks) to ensure a continuous harvest.
- In colder months, your younger Okra plants will continue producing until frost stops their growth.
How to Save Okra Seeds for Next Season
- Allow a few pods to mature and turn brown on the plant.
- Harvest the pods, dry them, and carefully extract seeds.
- Store seeds in a cool, dry place. Seeds remain viable for 2 to 3 years.
Pro Tips for Okra Success
- Okra grows faster and produces better in warm, sunny conditions.
- Use mulch to conserve moisture, minimize watering requirements, and to suppress weed growth.
- Regular harvesting encourages more continuous pod production.
- Identify pest problems quickly, particularly aphids and nematodes, to keep your Okra plants healthy.
- Transplants can help you get a head start or extend your harvest in the shorter growing seasons experienced in more northern climes.
Okra is a highly rewarding plant to grow, its resilience and low-maintenance requirements are a huge plus! Whether you’re gardening in raised beds, containers, your back yard garden, or in large fields, by following these tips, you can enjoy fresh, delicious pods all season long. Ready to get started? Let us know your favorite variety and any growing tips you may have learned in the comments below! We would love to hear from you!


