Growing tomatoes can be a rewarding experience for anyone, from a first time novice to an expert. We can guarantee that even the experts will learn something new from this comprehensive guide. This guide will walk you through everything you need to know to grow a delicious, bountiful tomato crop, from choosing the right varieties to harvesting and storing your crop.
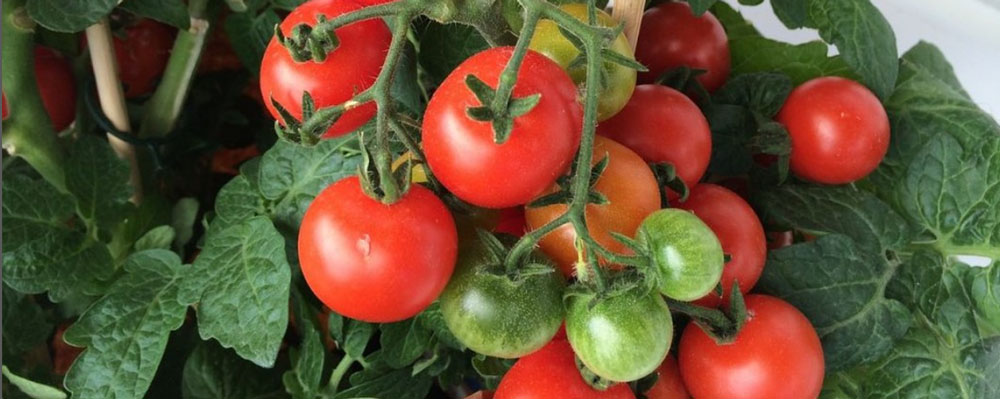
Your Quick Reference Guide Through Growing Tomatoes
- Choosing the Right Tomato Varieties
- Getting Started: From Seed to Seedling
- Soil Preparation
- Supporting Your Tomatoes
- Watering and Fertilizing
- Pruning and Maintenance
- Pest and Disease Management
- Adequate Pollination is Key!
- Harvesting and Storage
- How Do I Preserve My Tomato Harvest?
- Troubleshooting Common Tomato Problems
- More About Tomatoes
- Companion Plants for Tomatoes
1. Choosing the Right Tomato Varieties
There are two main types of tomatoes: determinate (bushing) and indeterminate (vining).
Determinate Tomatoes
- Are ideal for small spaces and containers.
- Grow to about 3-4 feet tall.
- Produce all of their fruit in about a month.
- Require less staking and pruning.
- We recommend: Roma, Rutgers, Better Bush, Carolina Gold
Indeterminate Tomatoes
- Are more suited to grow in larger spaces.
- Can grow indefinitely, often reaching 6-12 feet.
- Will produce fruit throughout the entire season
- Require more support and pruning.
- We recommend: Cherokee Purple, Brandywine, Big Beef, and Better Boy
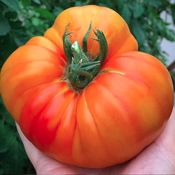
When choosing varieties, don’t be swayed solely by the outward appearance. Some of the juiciest, most savory, best-tasting tomatoes might not be the most visually attractive.
2. Getting Started: From Seed to Seedling
- Sowing Your Seeds: Begin your tomato journey 6-8 weeks before the last frost date in your area. Use a well-draining potting mix and sow seeds 1/4 inch deep in small containers or seed trays. Keep the soil consistently moist and warm (70-80°F) until germination occurs, typically within 5-10 days.
- Seedling Care: Once seedlings emerge, provide them with plenty of light – at least 12-16 hours daily. A sunny windowsill will do, though grow lights will work best to provide the optimal hours of sunlight. As the seedlings grow, transplant them into larger containers to encourage strong root development. If you will be growing them in containers, transplant them into their final destination to avoid transplant shock. See #6 under Soil Preparation.
- Hardening Off: About two weeks before transplanting outdoors, begin the hardening off process. Gradually expose your seedlings to outdoor conditions, starting with a few hours of filtered sunlight and increasing exposure over that two week time frame. This crucial step helps prevent transplant shock.
3. Soil Preparation
- Location and Sunlight: Choose a sunny location for your tomato plants. Tomatoes require at least 6-8 hours of direct sunlight per day. More sunlight leads to better growth and fruit production.
- Soil pH: Tomatoes prefer slightly acidic soil with a pH between 6.0 and 6.8. Test your soil and adjust the pH as needed, using lime to raise it or sulfur to lower it. You can purchase an inexpensive soil tester or take a soil sample to your local university extension office.
- Nutrient Requirements: Tomatoes need well-balanced soil, rich in organic matter. Incorporate compost or well-rotted manure into the soil to improve its structure and fertility. This is best done in the fall after the season is over, or as early as you can work the soil in the spring.
- Well-Drained Soil: Ensure your planting area has well-draining soil. Soil that does not drain properly can lead to root rot and other problems. If your soil is heavy clay, consider raised beds or amending the soil with organic matter or sand to improve drainage.
- Soil Amendments: Adding soil amendments such as bone meal for phosphorus, blood meal for nitrogen, and wood ash for potassium can help provide the essential nutrients tomatoes need to thrive.
- Planting and Spacing: Space DETERMINATE tomatoes about 3 feet apart, and INDETERMINATE varieties 3-4 feet apart. In containers, use a pot at least 12-14 inches in diameter and 7 gallons in volume for each plant. When transplanting, bury the stem deep – about 1/3 to 2/3 of the plant, removing the lower leaves as needed. This encourages a stronger root system. In colder climates, ensure the soil temperature is consistently 55-60°F before planting.
4. Supporting Your Tomatoes
Supporting your tomato plants is essential for optimal growth and yield. By using stakes, cages, or trellises, you prevent soil-borne diseases, increase fruit production, protect plants from damage, simplify harvesting, and maximize garden space. Additionally, supported tomatoes often develop larger, tastier fruit due to improved air circulation and sunlight exposure.
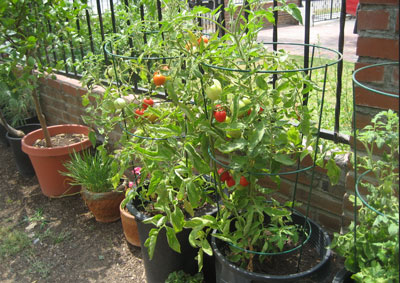
- For determinate varieties in containers, a simple tomato cage often suffices.
- For indeterminate varieties, use sturdy stakes (6-foot oak stakes work well) or tall cylindrical cages.
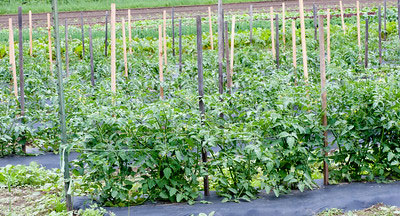
- The Florida weave method is super-efficient for multiple plants in a row. Basically, you are placing rows of twine so that the row of tomato plants is between the twine. You’ll use a line of twine on each side of each row, close enough to support the plants. Use tall stakes to secure the twine so you can add additional lines of twine as needed.
- Consider using netting or string systems for vining varieties.
5. Watering and Fertilizing
Watering
Water deeply and infrequently, aiming for consistent moisture. Avoid wetting the leaves to prevent fungal diseases. For large gardens, using a drip hose or system to water at the base of your tomato plants is ideal, especially if you include a timer. This will help ensure your tomatoes consistently receive the right amount of moisture. Mulch around the plants to retain moisture and suppress weeds.
Fertilization
Use a balanced, preferably slow-release fertilizer (like 10-10-10) or a tomato-specific fertilizer such as Tomato-tone. This should be done when transplanting, and then every 3-4 weeks. Keep in mind, more is not better when it comes to fertilizer! Also, consider using Neptune’s Harvest Fish and Seaweed as a foliar (leaf) spray. This can be done once per week, preferably in the early morning hours.
Consequences of Over-Fertilizing
- Leaf Burn: Excess fertilizer salts draw water out of the plant tissues, causing the tips and edges of the leaves to turn brown and crispy.
- Nutrient Imbalance: Too much of one nutrient can inhibit the uptake of others, leading to nutrient deficiencies.
- Excessive Vegetative Growth: High levels of nitrogen encourage leafy growth at the expense of fruit production.
- Salt Buildup: Over time, fertilizer salts can accumulate in the soil, leading to fertilizer burn, where high salt concentration damages the roots.
- Poor Fruit Quality: Tomatoes may become watery, lack flavor, or develop issues like blossom end rot.
- Environmental Damage: Excess fertilizer can leach into groundwater or run off into nearby water bodies, causing nutrient pollution.
- Root Damage: High concentrations of fertilizer can damage the root system, making it difficult for the plant to absorb water and nutrients.
Corrective Actions for Over-Fertilization
- Flush the Soil: Water the plant deeply and thoroughly to help flush out excess fertilizer salts from the root zone.
- Adjust Fertilization Practices: Use a balanced, slow-release fertilizer and follow the recommended application rates. Consider soil testing to determine nutrient needs accurately.
- Monitor Plant Health: Keep an eye on your plants’ response and make necessary adjustments to your fertilization routine based on their health and growth.
6. Pruning and Maintenance
Pruning Techniques—Pruning needs vary by tomato type:
- Determinate Varieties: Require minimal pruning – just remove lower leaves touching the soil.
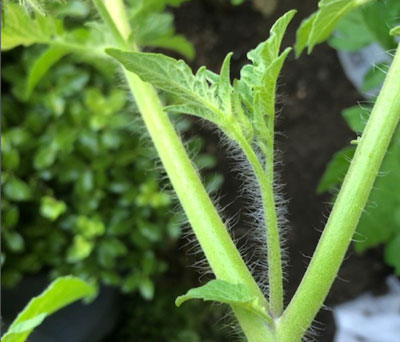
- Indeterminate Varieties: Remove suckers (shoots growing between the main stem and branches, see photo below) to allow the fruit-bearing branches to get the nutrients they need. If you want lower- or no-maintenance, leave them on; however, it will lead to slightly smaller fruits as there is more competition for the available nutrients.
Airflow and Disease Prevention
Ensure adequate airflow by pruning some inner branches, but don’t overdo it to prevent sunscald on fruits. Stand back to take a look during the process so you don’t mistakenly remove branches that are protecting burgeoning fruit.
7. Pest and Disease Management
Organic or Chemical Control?
- Organic Control: Use natural predators, neem oil, insecticidal soaps, and beneficial insects like ladybugs and predatory mites.
- Chemical Control: Utilize synthetic pesticides and fungicides, following the Manufacturer’s instructions carefully to avoid harming beneficial insects and contaminating the environment.
An Ounce of Prevention…!
- Sanitation: Clean up plant debris throughout and at the end of the season; rotate crops annually to prevent disease buildup in the soil.
- Crop Rotation: Avoid planting tomatoes in the same spot year after year to reduce the risk of soil-borne diseases.
- Resistant Varieties: Choose tomato varieties that are resistant to common diseases in your area.
How do I Treat Common Tomato Pests?
- Aphids: These small, soft-bodied insects can be controlled with insecticidal soap or a strong spray of water.
- Spider Mites: Look for fine webbing on leaves. Treat with neem oil or introduce predatory mites.
- Tomato Hornworms: Hand-pick these caterpillars or use Bacillus thuringiensis (Bt) as an organic control method.
Regional Pests
Different regions may face specific pests. Consult local extension services, gardening groups, chat forums, or your neighbors for information on pests prevalent in your specific area and their control methods.
How Can I Prevent Tomato Diseases?
- Blight: Prevent this fungal disease by avoiding overhead watering and ensuring good air circulation.
- Early Blight: Manage by removing affected foliage and applying fungicides if necessary. Maintain plant health through proper spacing, regular pruning, and avoiding wet foliage to reduce disease risk.
- Serenade Garden is a good preventative that can be applied as a foliar spray.
8. Adequate Pollination is Key!
Weather conditions such as high humidity or excessive heat can hinder pollination. Planting bee-friendly flowers nearby and avoiding pesticide use can help attract pollinators.
In periods of high humidity or when there is a noticeable lack of pollinators, gently shake your tomato plants or use an electric toothbrush to help distribute pollen and improve fruit set. Hand pollination involves gently transferring pollen from one flower to another using a small brush or your fingers.
9. Harvesting and Storage
Is It Ripe Yet?
Most tomatoes are ready to harvest when they’ve fully changed color and feel slightly soft when gently squeezed. However, some varieties may be picked when they’re still slightly green (breakers stage) and allowed to ripen indoors.
How Best to Harvest My Tomatoes?
Gently twisting the ripe tomatoes is all that is needed for harvesting. Sharp, clean pruning shears can be used to cut them from the vine if you choose.
Storing Tomatoes
For best flavor, store ripe tomatoes at room temperature and use within a few days. Refrigeration can diminish flavor but may be necessary to prevent overripe fruit from spoiling.
10. How Do I Preserve My Tomato Harvest?
- Home Canning: Sterilize jars and use a water bath or pressure canner to preserve tomatoes. Follow a tested recipe to ensure safety. Kerr or Ball, both companies that have been associated with food preservation for decades, have written and online direction.
- Drying: Slice tomatoes in halves or in quarters (unless really large) and use a dehydrator or oven on low heat to remove moisture. Plum or Roma tomatoes are best because they hold up better; they are meatier. Also dry your tomatoes cut side up to prevent the juices from draining into the pan below. Store dried tomatoes in airtight containers or store in olive oil for the best results. Pretty jars of dried tomatoes in olive oil makes a great hostess or thank you gift.
- Rehydrating: Set your dried tomatoes in a bowl of cold water for 30-60 minutes. If they will be soaking more than a couple of hours, put them in your refrigerator to prevent spoilage. Drain the tomatoes, reserving the liquid to use in soups or other recipes, utilizing all of the available vitamins tomatoes possess.
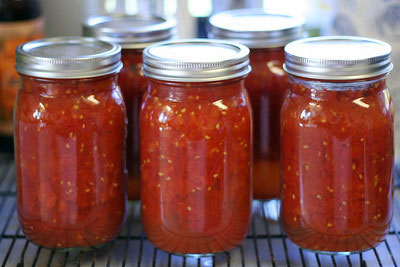
- Making Sauces: Simmer tomatoes with herbs and spices to create sauces. Freeze or can the sauces for long-term storage. You just can’t match the flavor with any sauce you can buy at the grocery store!
- Making Salsa: Growing onions and peppers, especially Jalapeños, with your tomato plants will help to preserve your bumper crop of tomatoes. Try different recipes to find your family’s favorite. You can freeze or can your salsa to enjoy fresh flavor year round.
11. Troubleshooting Common Tomato Problems
Even experienced gardeners encounter issues. Here are some common problems and solutions to help you diagnose and address them effectively:
Is it Tomato Blossom End Rot?
- BER will appear as a somewhat leathery, dark, ugly lesion on the bottom of the fruit where the blossom was once attached.
- Cause: Calcium deficiency, often due to inconsistent watering.
- Solution: Maintain even soil moisture and consider adding calcium to the soil.
Addressing Calcium Deficiency
- Lime: Add agricultural lime to the soil before planting to increase calcium levels.
- Gypsum: Apply gypsum, which provides calcium without altering soil pH.
- Foliar Spray: Use a calcium chloride or calcium nitrate foliar spray during the growing season. These sprays can provide a faster solution as they deliver calcium directly to the plant’s tissues.
- Rot-Stop: This commercial foliar spray, specifically designed to combat blossom end rot, delivers calcium directly to the fruit for faster results.
- Organic Options: When transplanting, add crushed eggshells or bone meal to the soil as natural calcium sources.
- Consistent Watering: Ensure even soil moisture to improve calcium uptake by the plant roots. A drip hose on a timer is ideal. Heavy rainstorms may throw this off a bit.
Other Tomato Blemishes
- Cracked Tomatoes: This is usually caused by fluctuations in watering. Maintain consistent moisture levels. Heavy rainstorms can cause this. It is best to harvest the ripe tomatoes immediately if a heavy downpour is expected.
- Catfacing: Deformed fruits due to cool weather at pollination time. Plant tomatoes after the danger of frost has passed, ideally when the soil temperature reaches 55-60°F. Be sure there isn’t a late frost in the forecast.
- Fruit Splitting: Caused by uneven watering. Ensure consistent watering to prevent this issue.
Help! My Tomato Leaves Are Turning Yellow!
- Lower Leaves: Likely due to nitrogen deficiency or natural aging.
- Upper Leaves: Possibly caused by iron or manganese deficiency.
- Solution: This can indicate nutrient deficiencies or overwatering. Adjust fertilization and watering practices accordingly.
My Tomatoes are Ripening Irregularly!
- Cause: Often caused by temperature fluctuations or pest damage.
- Solution: Maintain consistent growing conditions and monitor for pests.
My Tomato Plants are Wilting!
- Dry Soil: Likely due to underwatering.
- Moist Soil:
- Stems Discolored: Indicative of fungal wilt, which often happens without warning. Fusarium Wilt and Verticillium Wilt are the most common culprits.
- Stems Normal: Could be due to root problems caused by overwatering.
- Solution: Adjust your watering schedule. If wilt is the problem, you will have to destroy the plants. You can prevent wilt fungi by cleaning debris at the end of each season. Do not compost diseased plants. Grow your next season tomatoes in a spot far from where the disease occurred. Fungi can overwinter and come back again next season.
- Prevention: Look for tomato varieties that are resistant to Fusarium Wilt, Verticillium Wilt and other diseases.
My Tomato Plants Have Spots on the Leaves!
- Dark, Water-Soaked Spots: Signs of late blight.
- Brown Spots with Yellow Halo: Early blight is the probable cause.
Why are the Leaves on My Tomato Plants Curling?
- Upward Curl: Could be due to heat stress or viral infection.
- Downward Curl: Likely caused by overwatering or pest infestation.
The Flowers on My Tomato Plants Fall Off (Blossom Drop)!
- High Temperatures: Heat stress is a common cause.
- Normal Temperatures: Could be due to nutrient imbalance or poor pollination.
- Solution: Use Bonide Blossom Set Spray
12. More About Tomatoes
Growing Tomatoes in Containers
- Potting Mix: Use a high-quality, well-draining potting mix.
- Fertilization: Apply a balanced, slow-release fertilizer (if the potting soil does not already have it added) and supplement with liquid fertilizer during the growing season. Liquid fertilizer can be added every 2-3 weeks.
Tomato Genetics
- Heirloom Tomatoes: Open-pollinated varieties passed down through many generations, which are known for unique flavors and appearances.
- Hybrid Tomatoes: Created by crossing two different tomato plants, offering improved disease resistance and higher yields.
Seed Saving
- Choose ripe, healthy tomatoes from heirloom varieties.
- Scoop out the seeds and gel into a container, add water, and let ferment for a few days.
- Rinse the seeds and spread them out to dry completely before storing in a cool, dry place.
13. Companion Plants for Tomatoes
Companion planting is an age-old gardening technique that involves growing certain plants together to enhance growth, reduce pests, and improve yields. Here are some companion plants that work well with tomatoes, including those that attract beneficial insects.
Beneficial Companion Plants
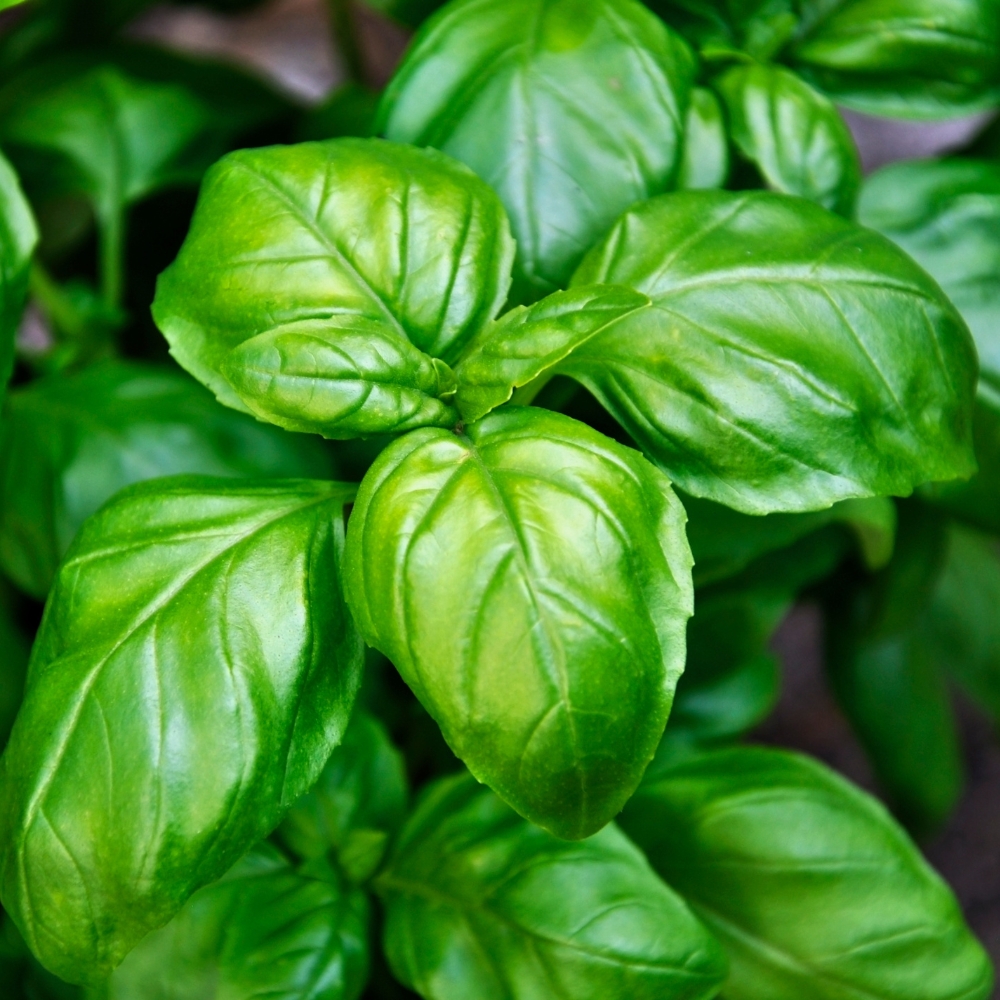
- Basil: Repels tomato hornworms, aphids, and whiteflies; Enhances the flavor of tomatoes
- Marigolds: Repel nematodes and other pests; Attract beneficial insects like ladybugs and lacewings
- Borage: Attracts pollinators and beneficial insects such as bees and predatory wasps; Improves tomato growth and flavor
- Nasturtiums: Repel whiteflies, aphids, and beetles; Attract predatory insects that feed on garden pests
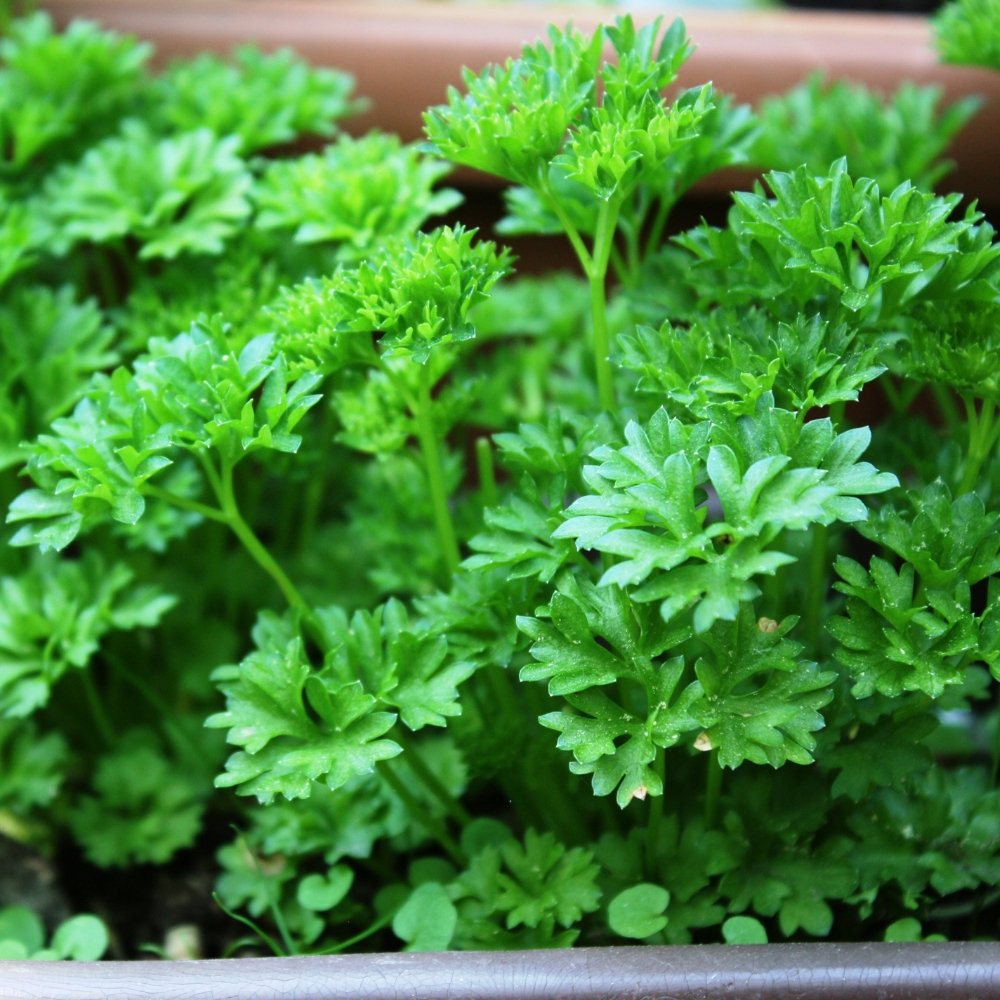
- Parsley: Attracts beneficial insects like hoverflies and predatory wasps
- Carrots: Improve soil aeration and can help deter pests.
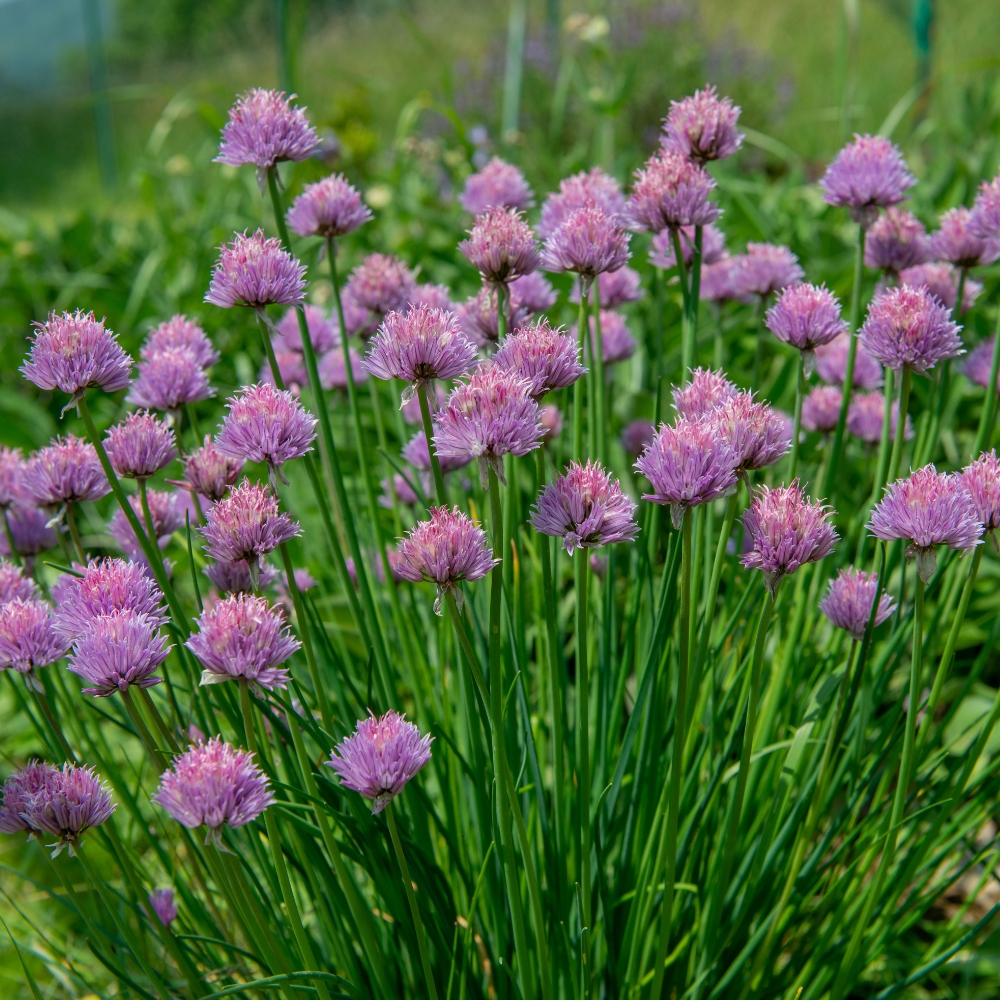
- Chives and Onions: Repel aphids, spider mites, and other common tomato pests
- Calendula (Pot Marigold): Attracts pollinators and predatory insects
Plants to Avoid Planting Near Tomatoes
- Potatoes: Can spread blight to tomatoes
- Cabbage Family (Brassicas): Compete with tomatoes for nutrients and space
- Corn: Attracts tomato hornworm and corn earworm
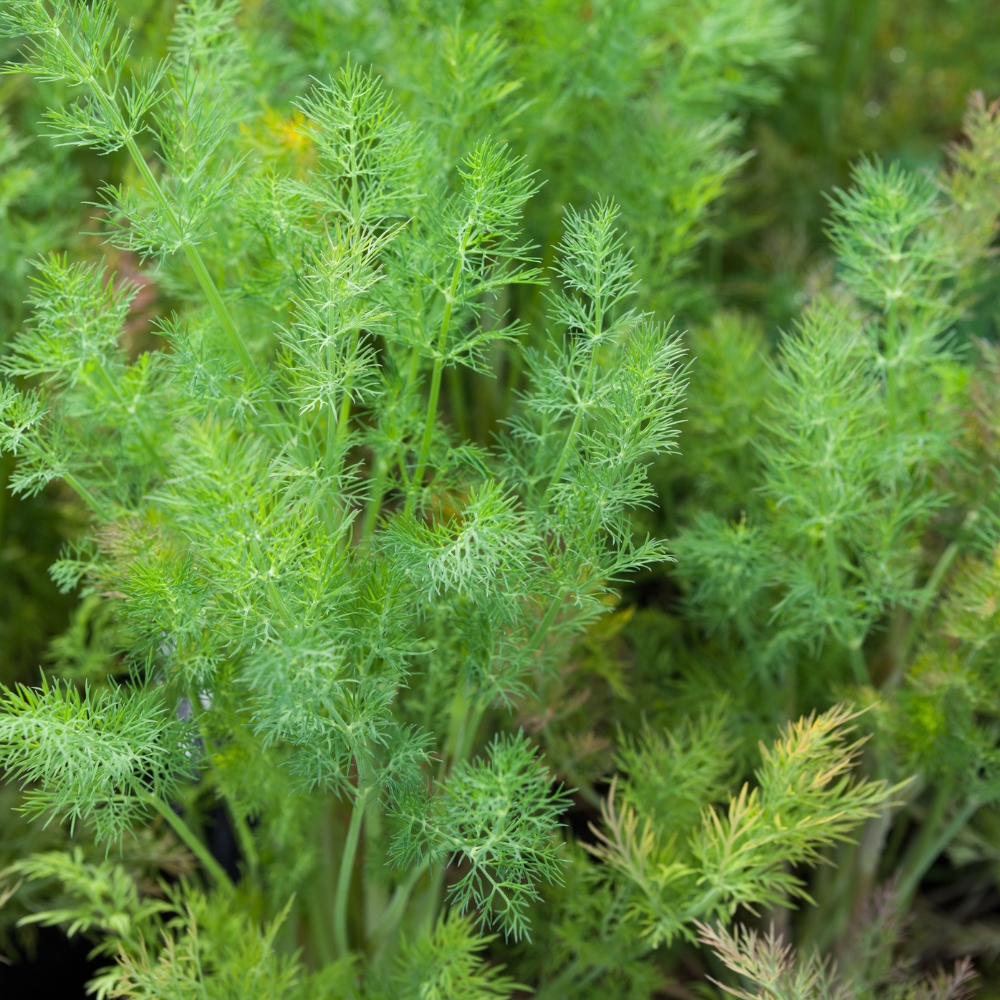
- Fennel: Inhibits tomato growth
By following these guidelines and remaining attentive to your plants’ needs, you’ll be well on your way to growing a bumper crop of delicious tomatoes. Remember, each growing season brings new learning opportunities, so don’t be discouraged by setbacks.


