


If your garden feels like it's missing that extra oomph, a well-designed border might just be the secret ingredient you need. Borders are like the picture frame of your outdoor space—defining it, enhancing it, and giving it personality. Whether you're dreaming of vibrant blooms, wildlife-friendly havens, or year-round greenery, creating a border doesn't have to be daunting. Inspired by timeless gardening wisdom, here's how to craft stunning garden borders in six easy steps—plus a month-by-month care plan to keep them thriving year-round. Let's dig in!
Step 1: Chase the Sun (or Shade)
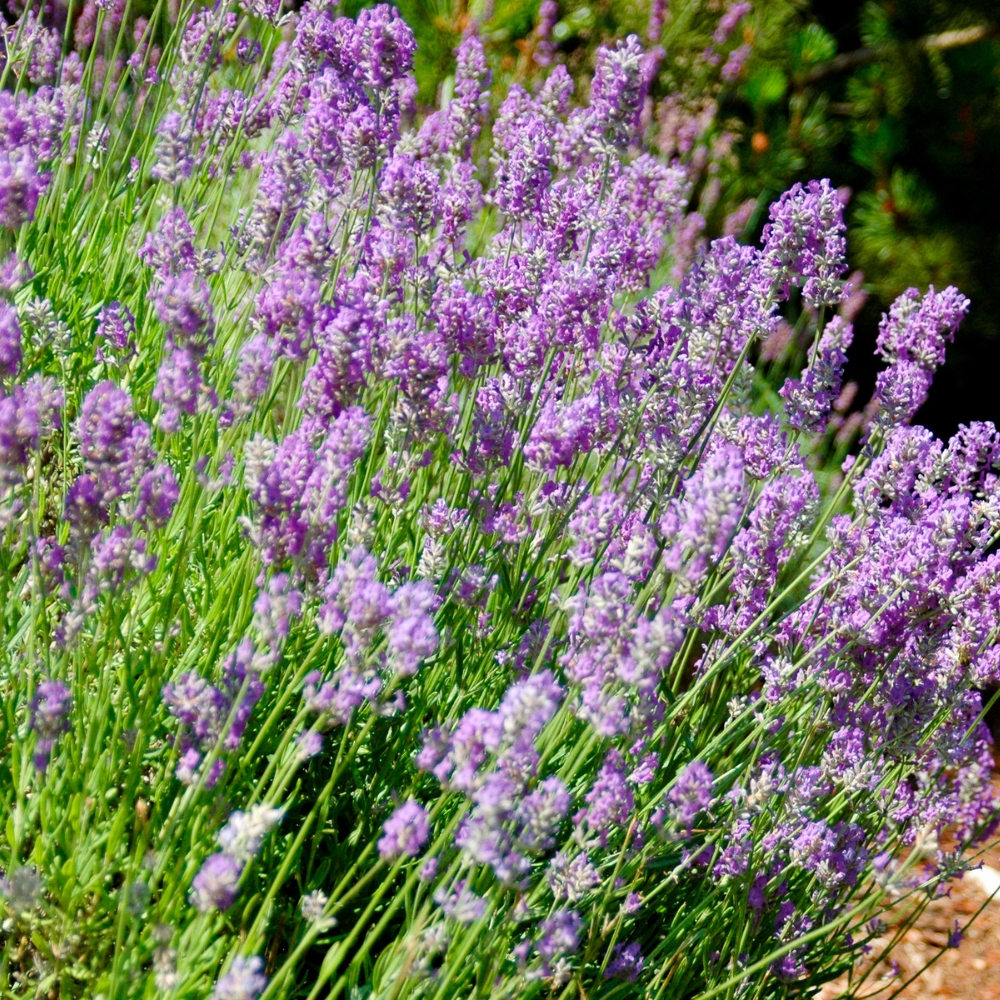
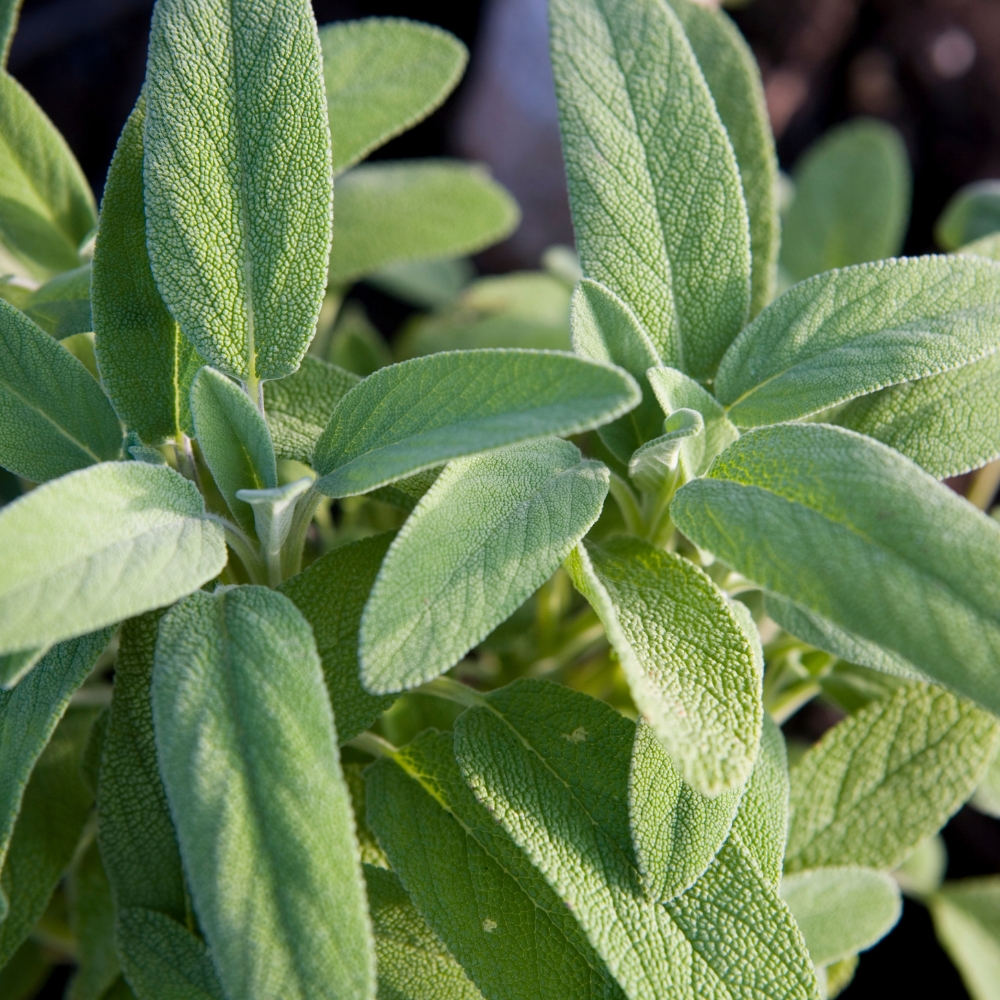
Before you even touch a spade, take a good look at your garden's light patterns. Is that corner basking in sunshine all day, or does it hide in the shadow of a tree? Sun-loving plants like lavender and salvia will sulk in shade, while ferns and hostas thrive where the rays don't reach. Spend a day observing how the light moves—it's like matchmaking for your plants. Get this right, and your border will thank you with blooms and vigor.
Step 2: Shape It Your Way
Borders aren't just about plants; they're about geometry too. Straight edges scream order and elegance—perfect for a formal lawn or a tidy patio. But if your garden's on the smaller side, try a gentle curve. Grab a hosepipe, lay it out, and tweak it until it flows just right. That swoop can trick the eye into seeing more space than there really is. Think of it as garden magic—practical yet playful.
Step 3: Edge Like a Pro
A crisp edge is the unsung hero of a great border. Grab your spade and carve a trench at least 4cm deep along your chosen line—it's like drawing a boundary that says, "This is where the border begins." If you're feeling fancy (or just hate weeding), add bricks, stones, or metal edging. Not only does it look sharp, but it also makes mowing a breeze. No more accidental lawnmower haircuts for your prized perennials!
Step 4: Play with Placement
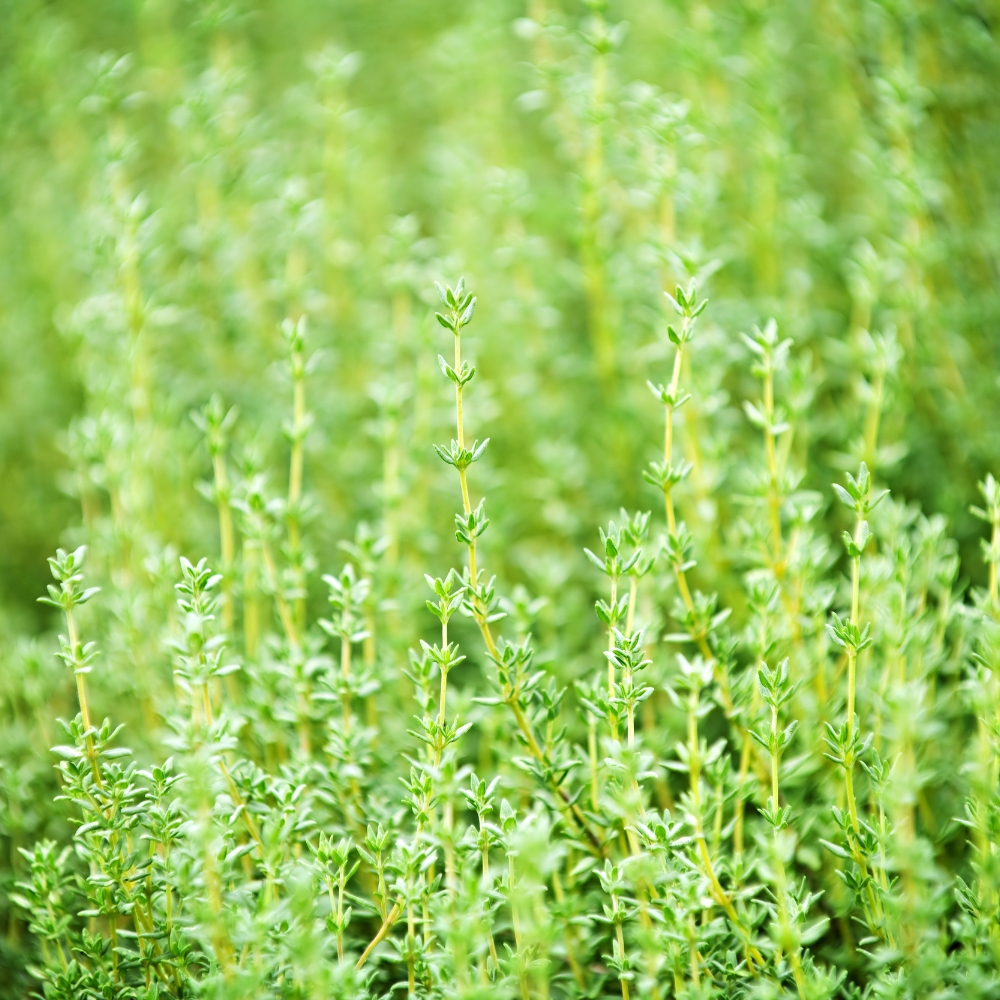
Now comes the fun part: arranging your plants. Don't dig just yet—set those pots out and shuffle them around like you're staging a photo shoot. Tall grasses or evergreen shrubs at the back for structure, mid-height flowers like geraniums in the middle, and low-growers like thyme hugging the front. Mix bold colors for drama or soft pastels for calm—whatever vibe you're chasing. Step back, squint, adjust. This is your masterpiece in the making.
Step 5: Plant with Love
Time to get those roots in the ground! Dig holes twice as wide as the pots, tease out the roots gently (think of it as a little plant massage), and nestle them in. Water generously—like a welcome-home gift for your new green friends. Pro tip: plant in odd numbers (three daisies, five lupins) for a natural, effortless look. Even nature knows symmetry can feel too stiff sometimes.
Step 6: Mulch It Up
Finish strong with a layer of mulch—bark, compost, or gravel, whatever suits your style. It's not just a pretty topcoat; it locks in moisture, keeps weeds at bay, and feeds the soil as it breaks down. Spread it a couple of inches thick, but don't smother your plants' stems—give them room to breathe. This final touch is like tucking your border into bed for a long, happy season.
Month-by-Month Border Care
A beautiful border needs consistent care to flourish through the seasons. Here's your guide, tailored from expert tips, to keep your borders in top shape all year:
January/February
- Start cutting back perennials to clear the way for spring's new growth
- Take root cuttings of perennials such as verbascum and phlox
- Prune summer-flowering shrubs like buddleja and lavatera to encourage vigorous growth later
March
- Spread a generous layer of mulch to stop weeds germinating and trap moisture in the soil
- Finish cutting back perennials
- Start off dahlia tubers in pots
- Divide herbaceous perennials to refresh them
April
- Give perennials some support with the likes of Agriframes' Elegance Round Plant Support (above)
- Sow seed of half-hardy annuals
- Plant summer-flowering bulbs
- Hoe or pull up weeds regularly
May
- Plant out tender ornamentals such as dahlias and half-hardy annuals grown from seed after the last frost
- Do the "Chelsea chop" to encourage a prolonged display of flowers
- Take softwood cuttings
June
- Deadhead roses as they fade
- Keep on top of weeds as they appear
- Prune spring-flowering shrubs such as forsythia and flowering currant
- Fill gaps with late sowings of fast-growing annuals like calendula
July
- Keep deadheading to keep flowers coming on plants such as cosmos
- Sow biennials for flowers next summer
- Divide clumps of bearded iris
- Take semi-ripe cuttings of shrubs
- Water new plants if the weather's dry
August
- Continue to deadhead, but leave plants with decorative seedheads
- Sow hardy annual seeds
- Collect ripening seed from flowering plants and store in a cool, dry place
- Order spring-flowering bulbs
September/October
- Plant new perennials and bulbs, such as daffodils, for spring flowering
- Sow hardy annuals including sweet peas, which are best sown in autumn
- Divide summer-flowering perennials
- Plant out biennials sown in summer
November/December
- Plant tulip bulbs from November onward until the end of winter
- Order and plant bare-root roses from now until the end of winter
- Lift and store dahlia tubers next off for catalogues and make next year's seed order
Why Borders Matter
A great border isn't just about looks. It's a haven for pollinators buzzing in for nectar, a splash of scent wafting through the air, and a backbone of evergreens that keep your garden alive even in winter's grip. With this month-by-month care plan, your border will evolve beautifully with the seasons.
So, grab your tools and start small if you're nervous—a corner, a curve, a single stretch. Before you know it, you'll have a border that's not just essential but downright irresistible. What's your dream border look like? Let me know—I'm all ears (or rather, all text)!
